
Start by learning the three-action-point turn, choosing complementary squad roles and checking your operators before every deployment. STAR WARS Zero Company alternates between squad battles and management at The Den. A strong opening routine connects those two halves: the squad you prepare at the base determines the options you have on the battlefield.
Source: EA · Zero CompanyEA · Gameplay
Before your first deployment
A standard mission deploys four operators, not your entire company. Hawks is required for story missions, while some other missions allow a different lineup. Read each operator’s abilities and equipment before assigning a slot; a recognizable character or an impressive outfit does not tell you everything about their tactical role.
For a first squad, look for a way to apply damage, manage pressure and support a teammate who gets into trouble. This is a planning checklist, not a universal best team. The eight standard Specializations provide different tools, and most operators can change their standard Specialization at The Den. Our class comparison explains the roles without assuming one lineup suits every encounter.
Decide whether you want permanent losses before committing to the campaign. Permadeath is enabled by default but can be disabled. Hawks has a separate rule: his death fails the mission and requires a restart.
Source: EA · Q&AEA · GameplayEA · Specializations
Plan the whole turn before the first shot
Your squad acts before the enemy team, and each operator starts with three action points. Check the cost preview before moving or firing: not every attack costs the same, and some actions use all remaining AP. Plan useful positions for the whole team rather than finishing one operator without considering the others.
Use cover and sightlines to decide where to stop. Overwatch can punish enemy movement or actions inside its cone, but entering it ends that operator’s turn. Move and use any other intended actions first. Avoid confusing an available reaction shot with protection against every angle.
Advantage is a shared pool capped at ten. It powers abilities without an additional AP cost, so spending it on one operator changes what remains for everyone else. Also check the operator selected for Call for Backup: that cooperative attack setup costs no AP and helps build Bonds.
Source: EA · GameplayArekkz Gaming
Make the return to The Den count
Before selecting the next tactical mission, review injuries, equipment and available upgrades. Regular Medbay healing takes one Cycle; Bacta treatment is immediate. Construction also takes time, and tactical deployments move the Cycle forward. Start the preparations you want to finish while your active squad is away.
EcksToo’s gameplay commentary demonstrates a useful base routine: conversations, medical care, Operations, equipment and personnel checks, then deployment. Treat that as an organizational aid rather than a compulsory order. Your resources and injured operators may call for different priorities.
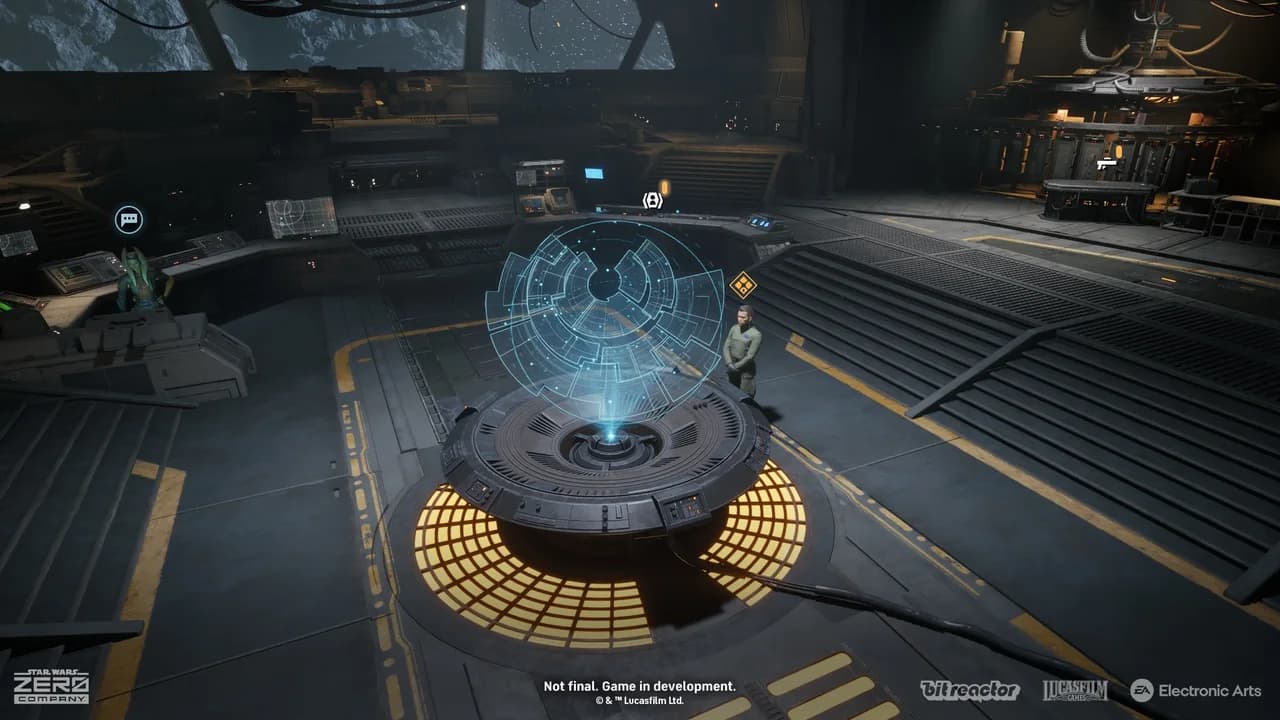
Source: EA · GameplayEcksToo
Three mistakes worth avoiding
- Do not treat four deployment slots as the maximum size of your roster. Reserves give you alternatives when someone is recovering.
- Do not spend all your AP before checking whether you still need to reposition, assist or set up Overwatch.
- Do not choose appearance for a presumed statistical bonus. Species and outfits are not inherent stat upgrades.
Continue with combat fundamentals when turn order is the problem, or The Den guide when you are unsure what to do between missions.
Source: EA · GameplayEA · Q&A